Art yarn weekend!

Standard

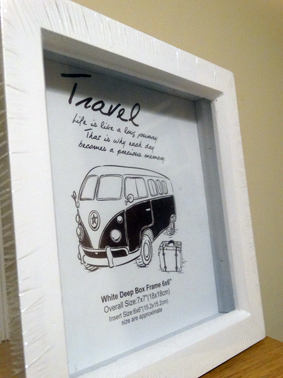
After watching many, many spinning videos on YouTube I came across this one by Ashley Martineau in which she uses her beautiful art yarn to create a piece of artwork  https://www.youtube.com/watch?v=CWDxBVKK6Yo  This gave me the idea to show off my yarn in a similar way, so I took a trip to The Range and found these deep box frames for £1.50 each, so I bought 3! They’re painted white, which I thought I’d paint over, but seeing my colourful yarn inside has made my change my mind, as it shows off the yarn perfectly.

DSC00564

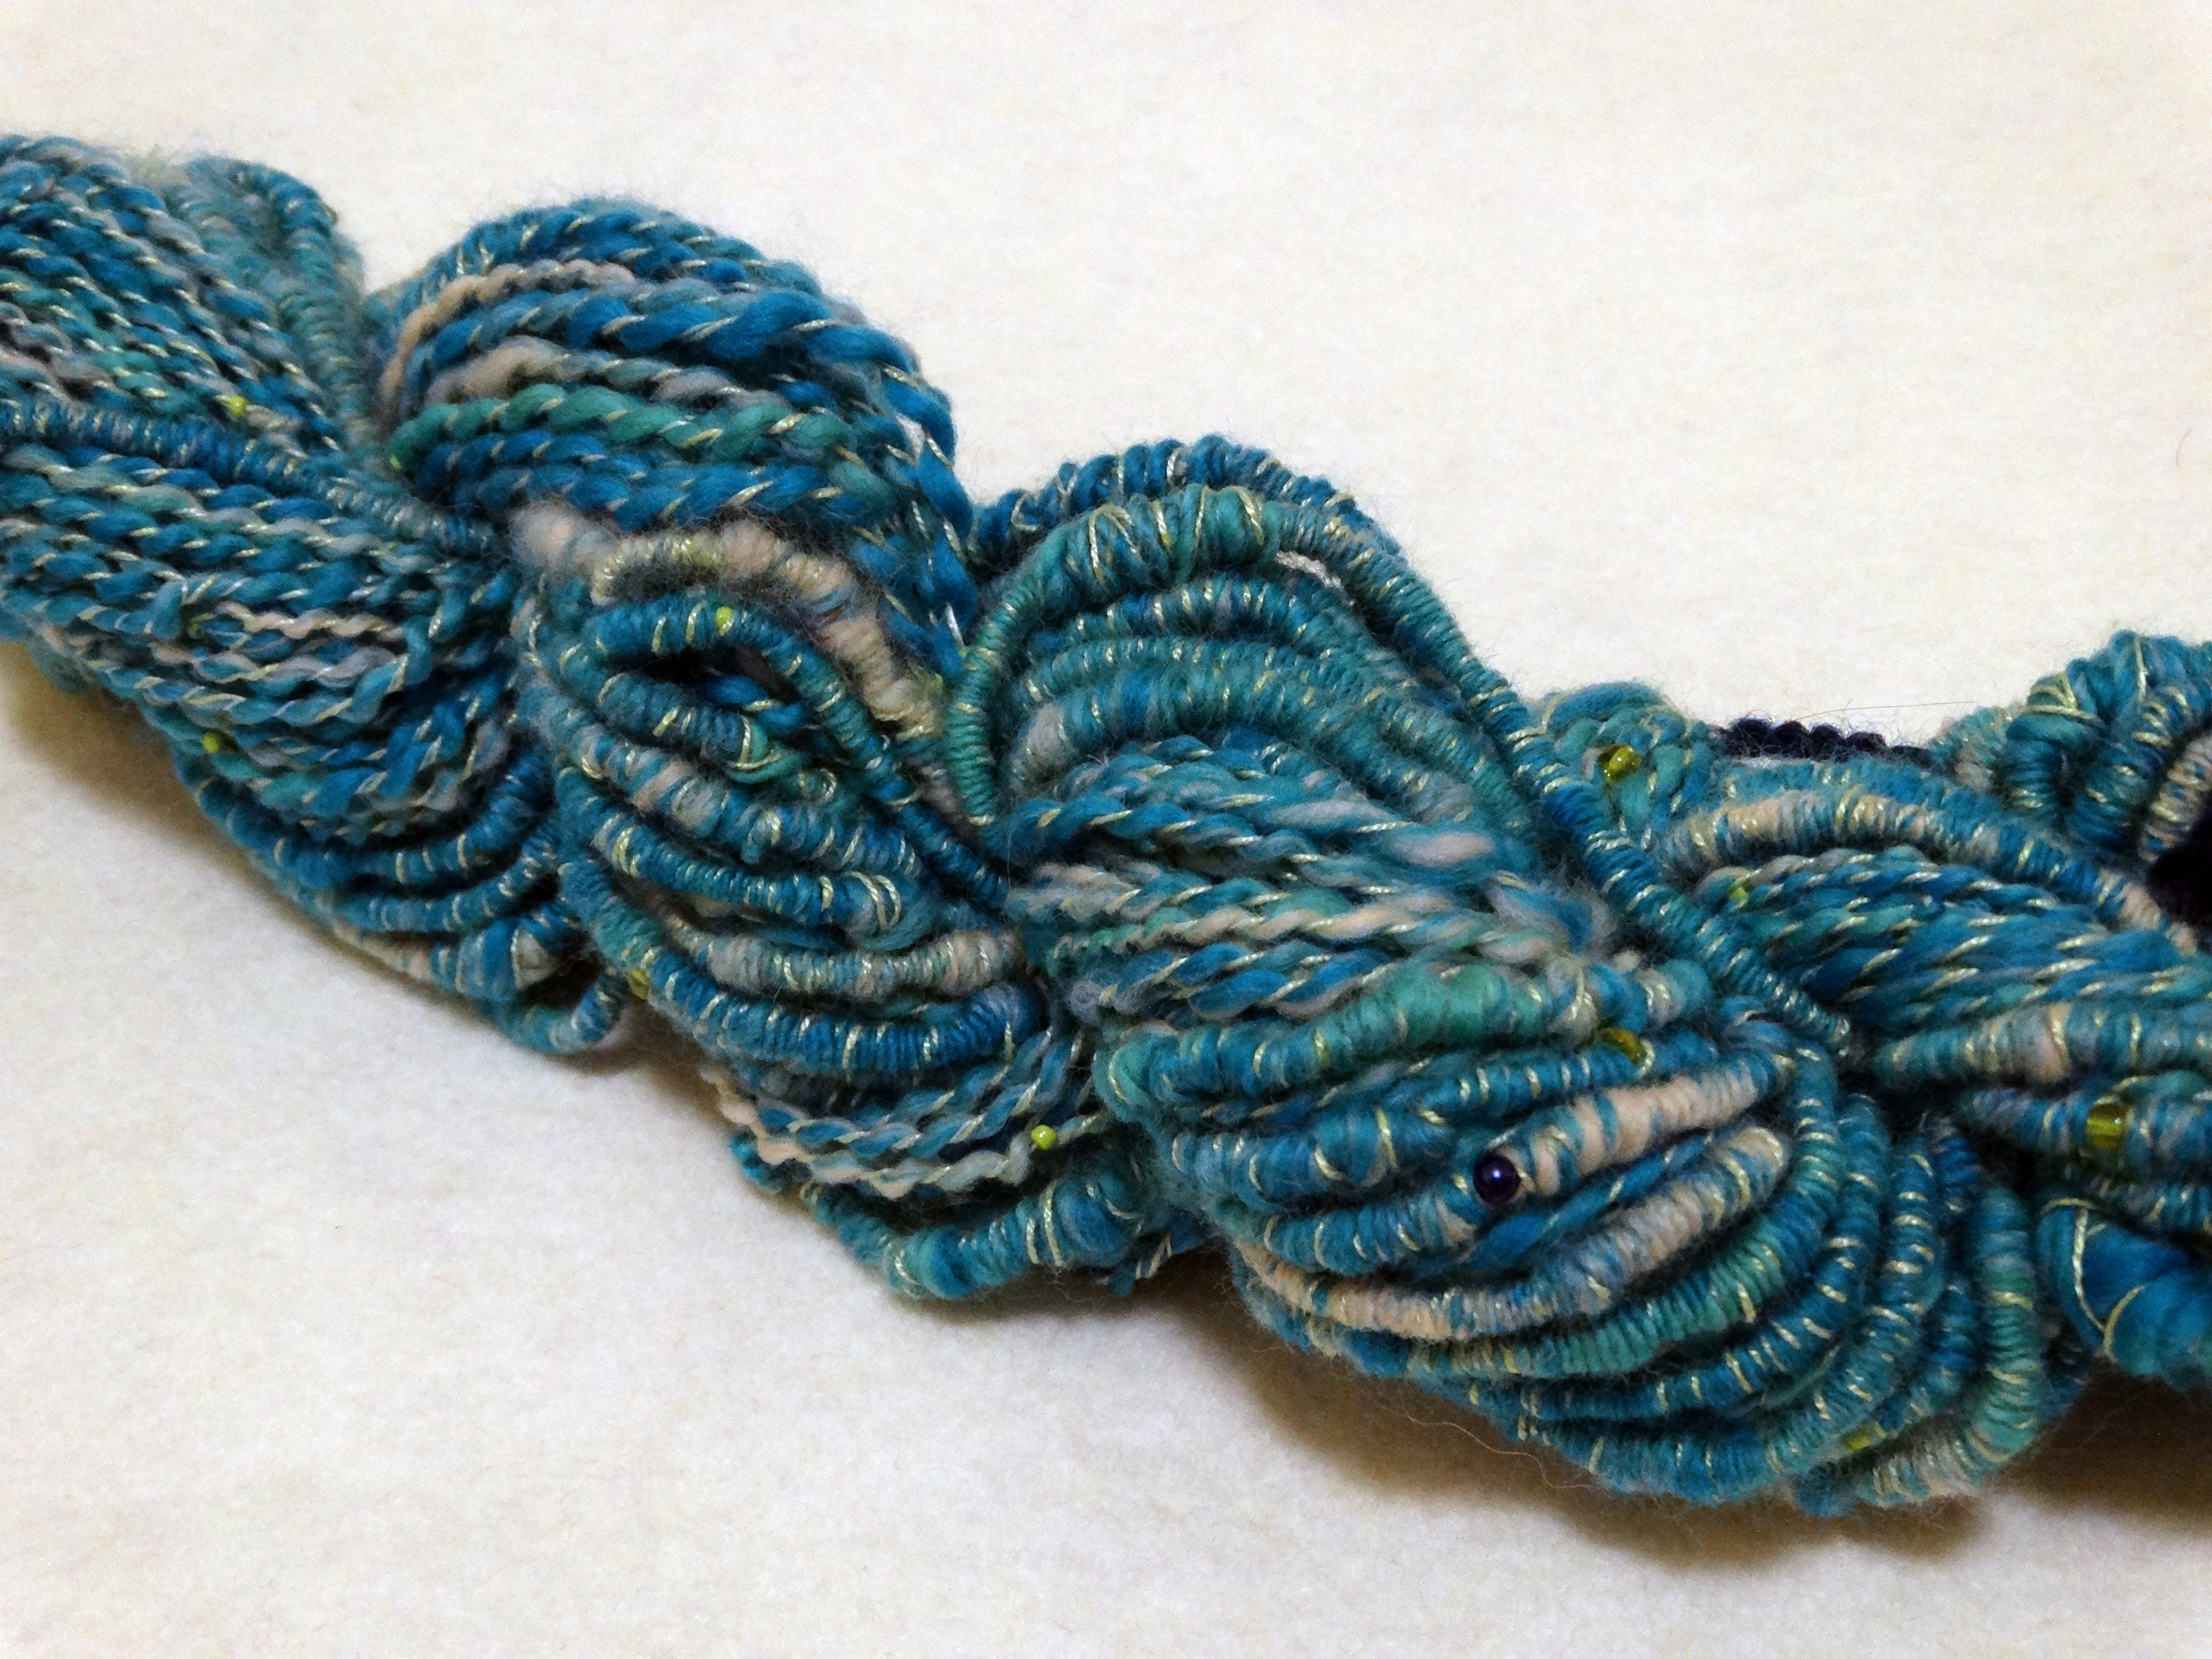
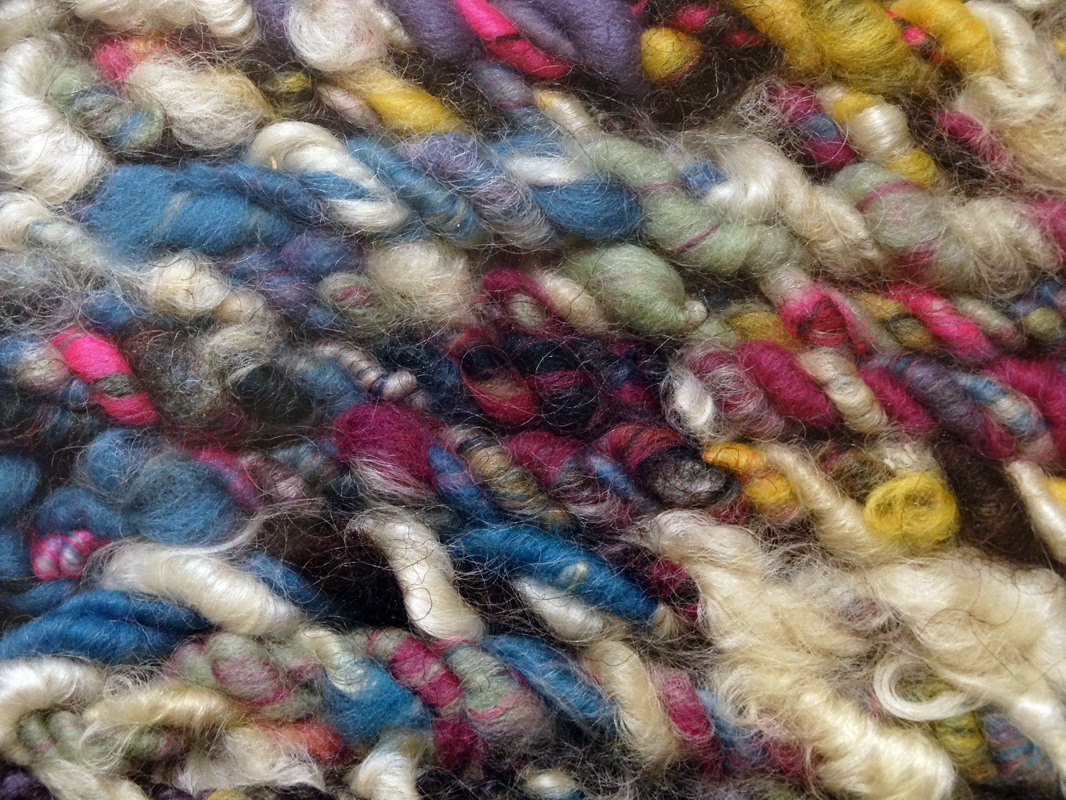
I got straight into making when I got back home on Friday, deciding I wanted to fill each box with a different technique but using similar colours. I wanted to try spinning from a cloud again, as I haven’t tried it since going to Wingham Wool Work. For my first mini skein I fluffed up some teeswater locks, alpaca, dyed roving and sparkly trilobal. I spun a single from this cloud and then navajo plied it (another technique I haven’t tried before, but really enjoyed!) At the end of each loop I caught another lock in the ply to add extra texture. (See below)

DSC00561

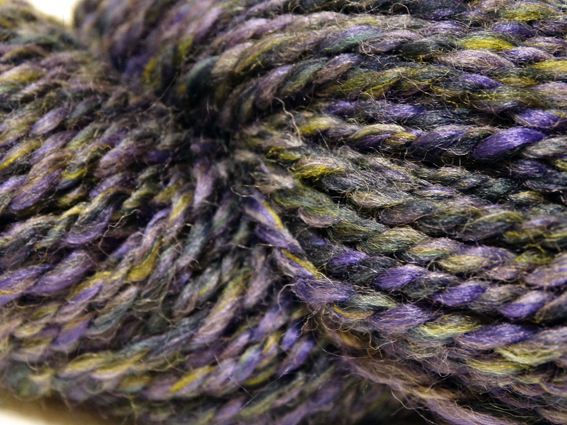
The second skein, spun again from a cloud, was corespun with a bulky weight yarn for the core, and again navajo plied. (See below). These two little skeins are probably the first true art yarn I’ve ever made, as I’m normally really stingy with fibre and don’t want to waste it on something I won’t use (soooooooo untrue now!) and I’m a bit of a control freak when it comes to colour prepping and spinning. Hopefully this will all change as I had a blast making these little art frames… and I still have the last one left to fill! If anyone has any suggestions on techniques to use for this last one please post below, I’d like to keep the same sort of colours but everything else will be a free for all!

DSC00568

DSC00559
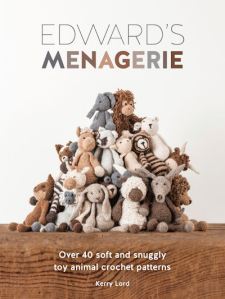
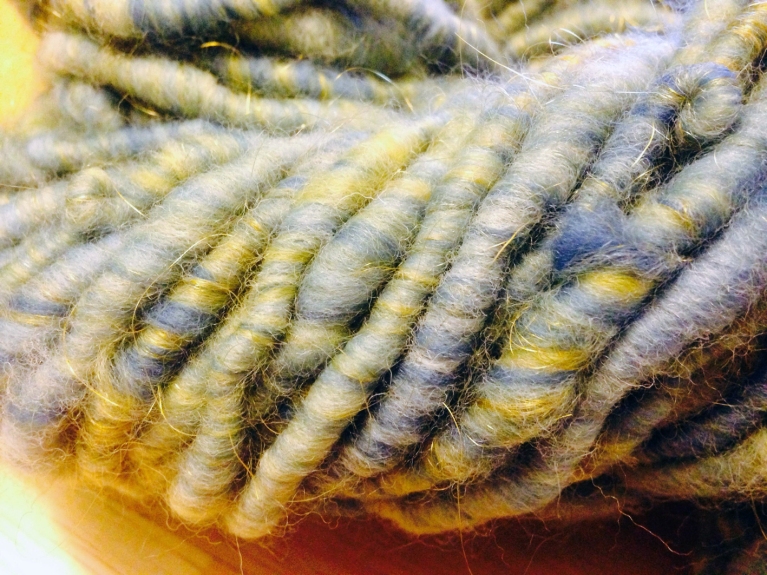
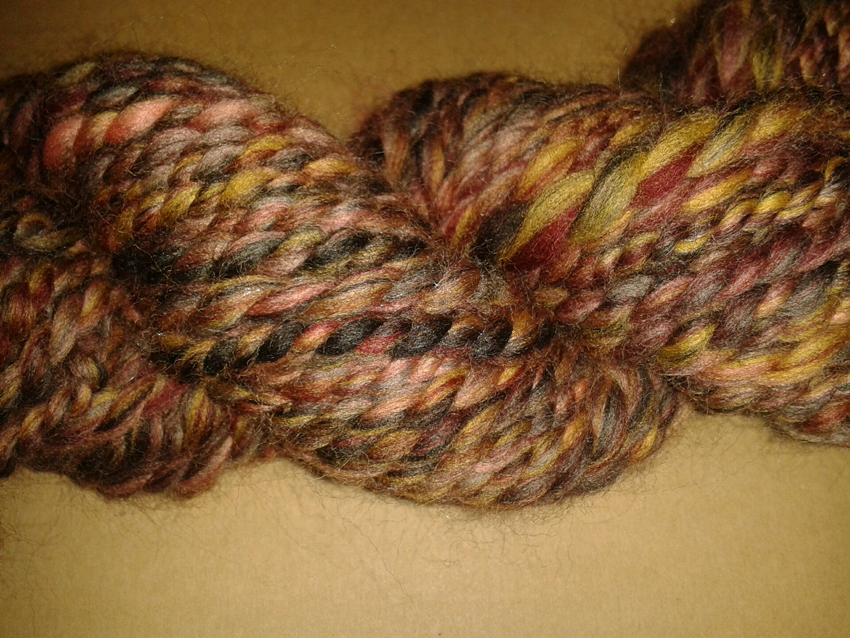
I also spent the weekend plying one of my Spin City rovings (https://www.etsy.com/uk/shop/SpinCityUK) which is a gorgeous blend of mohair, shetland, bamboo and merino. I’ve never spun with bamboo before, it’s incredibly slippery and can get away from you if you’re not careful (I figure that’s what spinning silk feels like), but it gives a beautiful sheen. I was aiming for a DK weight so I can make one of the little animals from the Edwards Menagerie book I recieved at Christmas, and for the most part I think I succeeded, though it is pushing aran in some places. Overall I’m happy with it though.

DSC00578

DSC00574

DSC00577
Please let me know what you think of my spin-tastic weekend!
Jen x

Vintage finds and felt balls

Standard

I haven’t posted in a while so I thought I’d share a few bits and pieces with you. It was my birthday last Friday – we went up to Norwich to see my folks on the Saturday and spent a lovely day with them. On the bus ride in I spotted a door which said ‘Vintage Market’, and I knew I would be dragging everyone inside to see if there were any treasures inside! I have never seen the sign before, but I’m going to make sure to visit every time I’m in the city as it was packed full of interesting things. I found a large old mill bobbin which I knew would look beautiful with the two I have at home. I thought about making them into lamps, but I think they look lovely as a set stood in the corner of my lounge.

I love old fibre-based objects; although they may not have changed much and we use very similar pieces today, it’s lovely to see the history of them. I managed to find an old rug yarn gauge at Wonderwool last year which is so lovely and tactile, you can see all the marks from where it was used.

20150208_173602I spent Sunday lazing around and making felt balls (apologies for the AWFUL photo, this table always looks bright orange in pictures!) They’re for a special project, which I’m not going to share just yet, but hopefully I will do very soon. Keep watching this space, as I’m hoping to make an announcement very soon!
Jen x

Spinning up a storm!

Standard

I decided at the weekend that I wanted to try something different. I was looking through my book The Spinners Book of Yarn Designs, (which is beautiful if no one has seen it) and came across the 2-ply slub coil yarn, which is similar to beehive yarn. It uses a slub single, plied with a secondary even spun single. The two are plied together, and when you come across a slub you push it up the length of the second single to create a beehive. I love the texture this yarn creates, with thin 2-ply inbetween these fat cocoons of fibre.

yarn

Flamme by Hjertegarn

With time being a factor, I rummaged through my stash of commercial yarn and found a single ball of slubby yarn (above) that was a gift I received last year. It was Flamme by Hjertegarn in the marine colourway, a 100% wool yarn which has stunning, vibrant colours. If you’re interested, I found them being sold here! I tied this and a blue crochet cotton to my leader, and started to spin! I’ve watched a few videos on Youtube of this technique, and remembered after the first few beehives that I should use my secondary thread (the crochet cotton) to lock in each one to make sure they’re secure and don’t move too much on the final yarn.

After this I was well away, apart from the fact that my Traditional Ashford was struggling with each beehive, even with my jumbo bobbin and flyer on. Oooops! I had to stop every foot or so to hand crank the bobbin as the fat slubs were catching on the hooks as well as some being to big to fit easily through the orifice!

DSC00557

One beautiful, slubby, beehive of fibre!

The finished result was well worth the effort though, the yarn came out beautifully and I had such fun spinning it. If you haven’t attempted this technique for any reason please give it a go, I was hesitant at first, thinking what would I do with the finished skein, would I be able to master the technique, and would I be disappointed at the end result, but I’m so happy I tried and I now have a gorgeous skein to play with! I still have to wash and set the twist as some areas have been slightly over spun, but I can’t wait to use this in a project!

DSC00548

DSC00558

I hope you enjoy the photos as much as I enjoyed spinning it!

In other news, my crochet blanket is going really well, I have 12 out of 16 large squares completed, and hopefully I will be adding another to that list tonight! I’m hoping that I can start stitching ‘The Beast’ (as I’ve nicknamed it) together this weekend, and that I have enough of the grey to stitch up and do another round on the entire blanket, fingers crossed please! x

Turquoise single

Standard

I finally decided to use my turquoise for a bit of experimentation at the weekend. I strung some beads onto beading thread and started to ply the beading thread with the turquoise fibre and some green crochet cotton I had in my stash. Singles I used lime green seed beads and slightly larger green beads . Halfway through the single I decided to change my approach and create some super coils. Seeing as the single I’d spun was roughly dk weight, I can’t really say ‘super’ but I really like the effect it gave. Supercoils (2) I still incorporated the beads, although the small seed beads seemed to get lost in the condensed yarn, the larger beads poke out every inch or two. I really liked this effect and carried this on for the rest of the yarn. I occasionally put a little gimp in and pushed this up the beading thread core to create the slubs you can see above. Skein I’m thinking of using the supercoiled half for a framed piece of art, and keeping the rest of the skein for details in my knitting. What do you think?! I really enjoyed spinning with beads, although I’m not a fan of knitting with beaded yarn. I do however think that this yarn will work really well as a piece of art, and I’m excited to see how it turns out. I’ve got an old frame at home that I found in a charity shop which I think will look good with this yarn. Keep watching this space x

Granny square blanket update and stumped on a single!

Standard

I thought you’d like to see how I’m getting on with my granny square blanket. I started this just over two weeks ago and it’s coming together so quickly. When I started I was so good at sewing in all the ends, but that has fallen by the way side recently, never the less I’m happy with how it’s going!

GrannySquareBlanket

As I said in my last post it’s going to be 4 x 4 large squares, and I have 6 of these done. I’m hoping it will all be complete by the end of January so I have a few months to use and enjoy it before it gets too hot!

On a slightly different note, I have a 100g of turquoise merino spun into a single, but I’m not sure what to do with it. I thought I was going to ply it with another single I’d spun but the colours weren’t working together. I’ve also tried plying it with crochet cotton but it wasn’t working either. It’s a fairly even single, any ideas on what to do with it? That’s it for now, I’m going to crack on with some more squares! x

Books, batts and granny squares

Standard

I haven’t posted anything in such a long time, Christmas was so busy and I haven’t been at my computer! As such, I thought I’d give a quick run down on what I’ve been up to.

Christmas was fantastic as always, I received some wonderful presents and enjoyed some good old fashioned family time. One of my presents was a lovely crochet book by Kerry Lord, Edward’s Menagerie. It has some really cute patterns in that I can’t wait to make, in particular Hank the dorset down sheep. He’s absolutely beautiful. The book is really well put together, and includes sweet back stories on all of Kerry’s characters. If you click on the book cover below it will take you to her website where you can see the list of animals included in the book.

Edwards_Menagerie_crochet_animals

I also received some fibre goodies, two new bobbins for my spinning wheel, dark brown Wensleydale fibre that I’m thinking of carding with alpaca to knit into a shawl, and a finishing brush for my carder. The finishing brush has helped me to make even softer batts, and pack quite a bit more onto the drum of my carder. Depending on the fibre I’m using I can get between 75 and 100g on there now. I spent quite a few days over the holiday carding up batts that I would eventually like to sell on Etsy. I have 6 or 7 carded up but would like to have more of a selection before I open the online store. Watch this space! Here are a few of the batts I’ve been carding, there’s all sorts of yummy fibre and goodies packed into them, merino, alpaca, shetland, sari silk waste, angelina to name but a few!

20141207_143747

I have also spent a lot of time over the break getting back into my crocheting. Since learning to knit I have to admit that has become my chosen form of creating with yarn, but there are a few things that I think crochet is wonderful for, and I would always go for my hooks instead of needles to make children’s toys as the stitches are that much denser and hold together better over time. I also love the look of granny squares, and having not made any since I finished off my double bed spread size blanket over a year ago I thought it was about time to make some more! I’m making another large bed cover, this time in turquoise, cream, pink and dark grey. I’m using Drops Andes yarn which is fantastic to work with, it’s a mix of 65% wool and 35% alpaca which means it’s super soft. As always, Drops Andes is very reasonably priced, and even more so if you’re lucky to get some in the sales which is where I purchased mine. Wool Warehouse had a Drops yarn sale which ended on December 31st, so I spent my Christmas money on what I love most, yarn! The image below doesn’t really give you a sense of scale but the 4 completed squares across the top are 12.5 inches across, and the finished blanket will be 4 x 4 of these large granny squares. As you can see I’m almost halfway done, and I’ve only been making them for just over a week! The chunky nature of the yarn and the hook size have made my grannies squares are thick, cosy and scrummy!

20150107_211056

That’s all from me for now! I will try and be much better at posting all my makings this year! x

Core spinning

Standard

At the weekend I made my first full skein of corespun yarn from a batt I had made ages ago. The colours in it are not my favourites as I tend to go for rich reds, purples and turquoises, which is why it has sat at the bottom of my pile for so long. However, once I started spinning it I fell in love with the shades, it reminds me of a hot sunny day, with blues, yellows and white, as well as a fair amount of gold trilobal, which is similar to angelina. I got my trilobal from Wonderwool (Wales) this year, it is quite a bit cheaper than angelina but doesn’t come in as many colours. You can see the gorgeous gold coming through here…

IMG_0866

My only issues with the finished skein (which was super quick to spin up, even though my poor Traditional suffered with the thickness and texture, which meant I had to hand wind in places), was that the amount of over twist was incredible (have a look at the final image to see what I mean!). Even though I’ll still be able to crochet with this it will be next to useless for knitting with.

This slight disappointment led me to do a bit of digging around the internet this week to see if I could find any answers. My answer came in the form of Knitty Blog who had written a post on the Core of Corespun, please follow the link here if you wish to read it for yourself, and if you’re having problems with core spinning I do recommend it! I found my answer almost immediately, Jillian spun two yarns, both using the same core and the same fibre but got two completely different results. Why? Because on the second skein she first ran the core through her wheel the opposite way to the way it was originally plied, thus opening up the yarn, and causing it to be re-plied when she started core spinning, but not over twisting it. Ta dah! I knew there would be a way not producing over twisted corespun out there somewhere. I had been thinking about spinning anti-clockwise if the core uses a Z twist, but I think the fibre may not catch as well on the core. I’ll try both methods this weekend and see what results I get. As ever I will post my findings and let you know! x

IMG_0859

Fibre photography

Standard

As many of you will have noticed, my photography for this blog is not the best! It could be an awful lot better, and I don’t want to put up photos of my new yarns looking less than perfect. Today I’ve been having a look to see what other people suggest, as I have been thinking about putting this mini photography studio on my Christmas list! Click here for link…

41tRu6N0uhL

I found some blogs that talk about photographing yarn, how to get the best from your camera and how to display your yarn for a commercial environment.

The blogs are listed below, they make for interesting reading…

http://www.enneacollective.com/?p=1349
http://www.pixiepurls.com/2011/07/04/photography-for-knitters-part-4-photographing-yarn/

I found the way Pixie Purls shows how the same yarn photographs using different coloured backgrounds very interesting, and this is definitely something to bare in mind when taking pictures of your handspuns.

I then started looking around at the way other fibre artists capture their makes, and saw many clever ideas. Some people place their yarn on a large stone or wooden surface, something that will echo the natural fibres they’ve used., whilst others go down the same route that I’ve been looking into with a white or black (depending on the colour of the yarn) background. What I found was that while a plain background lets the photo be all about the yarn, I prefer the look of the more unusual backgrounds. I also realised (and this may be for a good reason, please let me know if this sounds silly!) that I hadn’t seen a knitted background. It would have to be a plain colour, but I could knit up a white ‘sheet’ to place my yarn on which would have the clean look of a photography box shot as well as the natural elements I love. As I said, there may be a good reason I didn’t come across any images using this idea, but I can’t seem to think of one! That being said, I think I have gone off the idea of a photography studio for Christmas, I will be making my own!

On a slight tangent, but still very much fibre related, I found a blog by a lady who produces some beautiful hand spun yarn which I wanted to share with you. Her blog is folktalefibers.blogspot.co.uk Below is a photo of one of her creations which I hope she doesn’t mind me sharing with you! If you have a few hours to kill (and yes, I did actually spend a good few hours reading all of her posts and drooling over her inspirational yarns) then I highly suggest having a look at her blog. There are also a few images of cute little baby goats in hand knitted jumpers!

mushroomcoll

I am finishing off another single tonight from some batts I made up to ply with the falkland I did a few weeks ago. As always, photos to follow! x


My latest creation

Standard

I’ve been doing a lot of spinning on my new e-spinner, and it is so much quicker than my Traditional, which is fantastic as I have so many ideas as to what I want to card and spin next!

My latest skeins were using a merino roving with apricots, mustards and browns in. I’ve taken photos at all stages, the main photo above being the fibres. Below is a single being spun, I was hoping for a chunky but as you can see I’m still getting thinner areas. I’m not too fussed about this at the moment as it creates such a wonderful textured yarn, but I would like to be able to spin a consistent chunky soon. If anyone has any tips please let me know!

20141106_212733_resized

…and here is the final yarn after it has been plied. I have 200g, and produced all the singles in an evening and plied it the next night, which is quite quick for me. I have yet to wash it and set the twist but I tend to wait until I have 4 or 5 skeins made before I do this.

20141110_215200_resized

20141110_215243_resized

I hope you like my yarn, it’s beautifully soft and fluffy and I’m so pleased with it. Here’s to many more happy hours spent spinning! x

As promised

Standard

My husband has sent my photos over as promised, so here they are!

There were so many different fibres to choose from at Wingham, merino and merino silk roving, cashmere, alpaca, carded batts and more as well as angelina fibres and nepps to add in. We were also able to use the blending boards and drum carders in the shed next door. I made these rolags using the drum carder on the left, which were turquoise and royal blue merino with added sparkles!

Rolags

This shed also held all of the wheels we could use, Wingham stock Ashford and Kromski models.

Wingham3

Once I had chosen the wheel I wanted to try first I made my way next door to a greenhouse with stunning views to happily spin away. There were many people that came and went throughout the day, and luckily for me they left the wheels they were using set up and ready for me to jump onto when I had used up the fibre I was working with.

Wingham1

I had a fantastic time and will post more photos of the yarn I made very soon!

Jen x